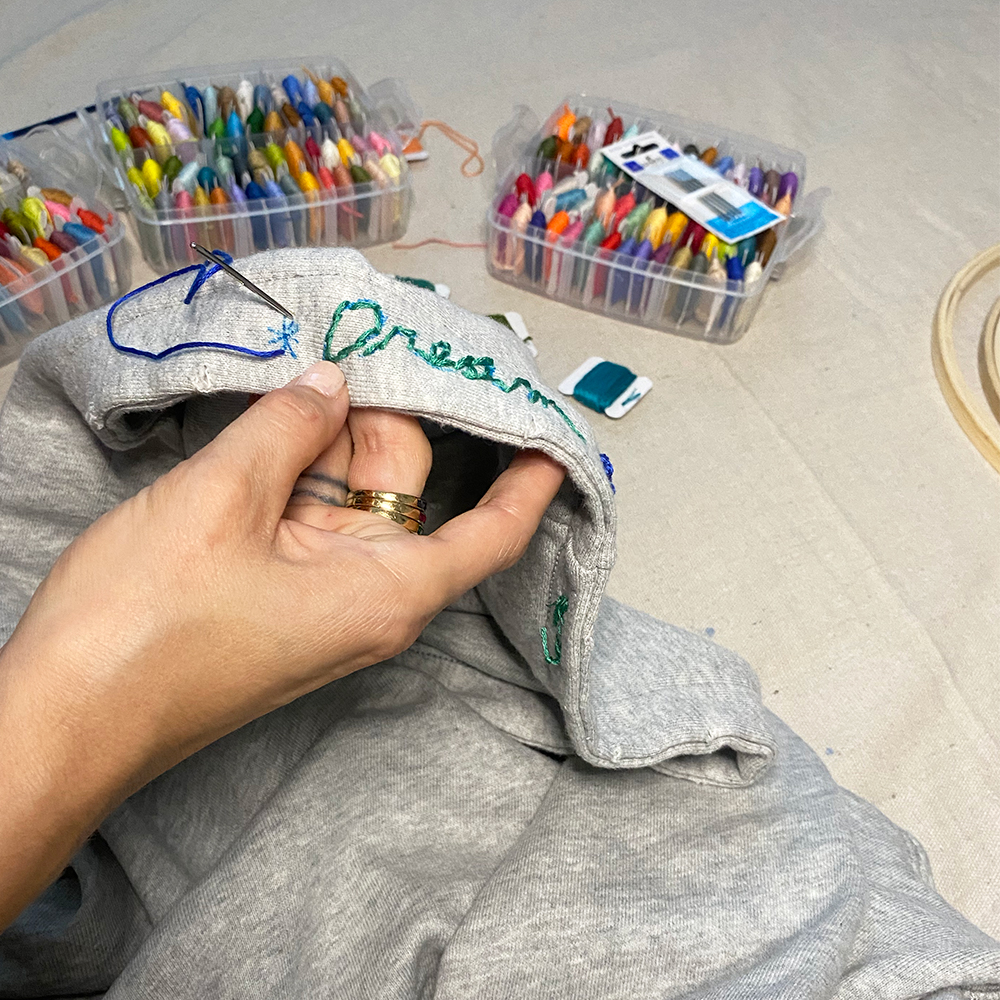
Let’s get crafty, Aerie fam!
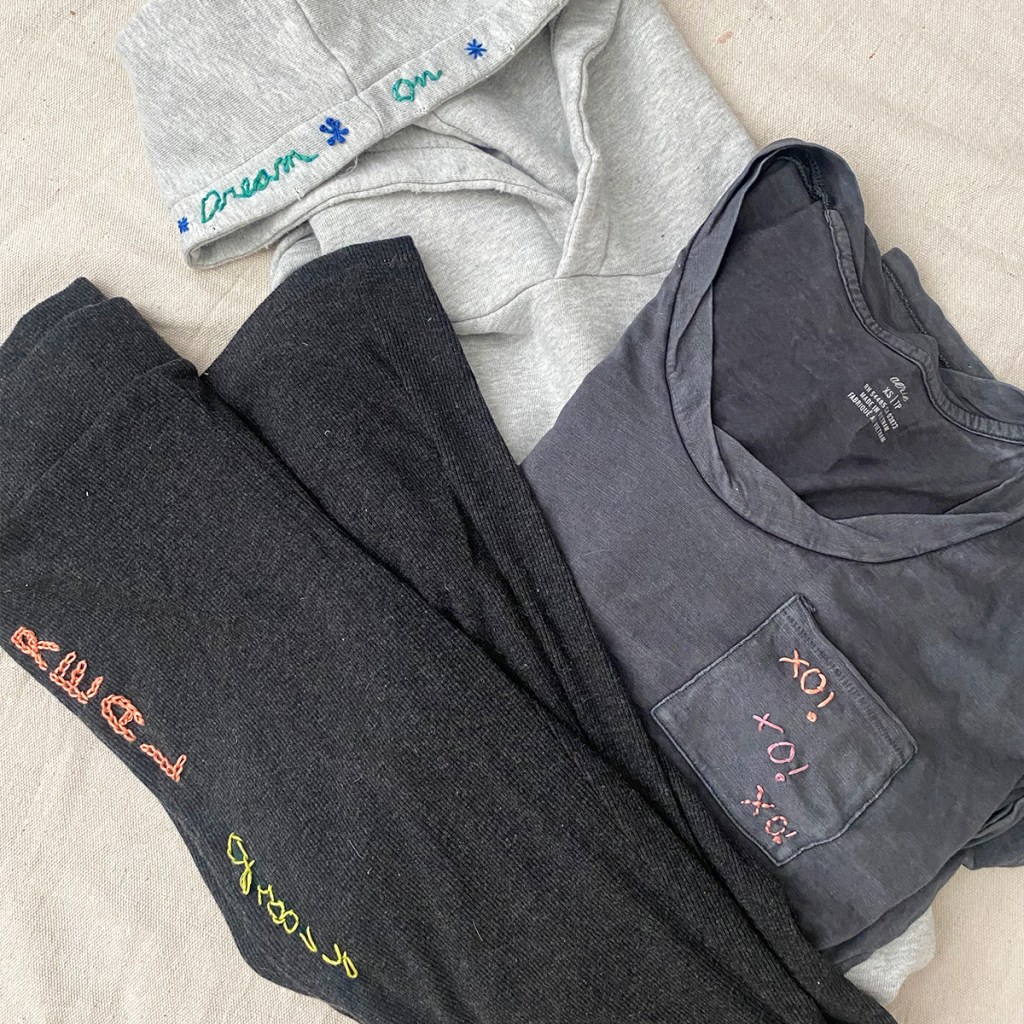
This season’s craft-inspired details and 70s vibes inspired us to bring a little bit of DIY grooviness to #AerieREAL Life. So, we invited stylist & artist Mandy Mitchell to show us how she uses her embroidery skills on three designs that add pops of color and texture to any piece of clothing.
If learning how to embroidery stitch sounds intimidating, don’t worry. Mandy breaks down her stitches for each design with step-by-step instructions and easy-to-follow videos. (And if your designs aren’t perfect? That’s what makes ‘em unique and REAL.)
Read Mandy’s instructions below, and watch her video to get an in-depth look at how to embroider each design by hand. Happy stitching!

Materials Needed
1. 6-strand embroidery thread
2. Embroidery needles (I recommend ones with a larger eye; makes it a lot easier to thread your needle)
3. Sharp scissors
4. Chalk or white-colored pencil (for darker fabrics)
5. Pen or pencil (for lighter fabrics)
6. Your favorite Aerie piece of clothing (you can learn how to embroider on a shirt, fleece or even denim!)
7. Optional: Embroidery hoop

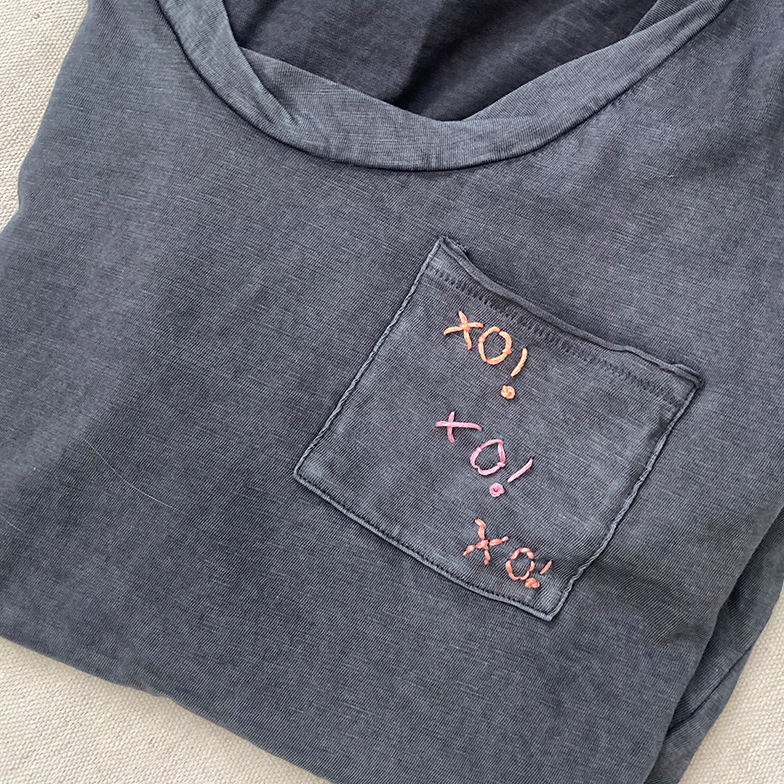
For our first design, we’re using a simple stitch that’s a perfect staple to learn! (And for all you other lefties out there, this is the first left-handed visual tutorial there is…you’re welcome.)
1. Mark out your letters on the fabric with your chalk, pen or pencil.
2. Optional: Secure the section of the fabric in your embroidery hoop. This will hold your fabric taut for easier sewing.
3. Thread your needle and tie a knot at one end.
4. Start from the back of the design and pull your needle through, starting at the base of your outline.
5. Important: Make sure you pull all the way through so the knotted end is flush with the fabric.
6. Pull your thread to the other end of the line and pull down towards the back of the fabric.
7. Repeat for the other side.
For curved letters like “O” I like to use a slightly different method so there’s a more natural curve to the thread:
8. Starting from the back of the fabric at the bottom center of the “O” outline, pull the needle through to the front.
9. Then begin to pull it back through at the top center of the “O”, leaving a little bit of slack.
10. Bring your needle back up through the center of the side you’re working on, pull the thread up and bring it back down on the other side of the “O” thread to create a little “holder,” pulling it tight and following the pen outline underneath. This should hold the thread in place so it’s curved nicely.
11. Repeat on the other side.
12. For the “!”, start from the back and pull needle through to the front.
13. Following the outline, pull the needle back through at the base of your outline.
14. For the “dot” of the exclamation point, I love to use a French Knot. Don’t get discouraged if it takes you a few tries to nail it. The best part of embroidering is how easy it is to try again.
15. Pull your needle through to the front on the “dot” wrap your needle three times and pull back down through the center point while holding the thread taut. It should result in a 3-D “dot”

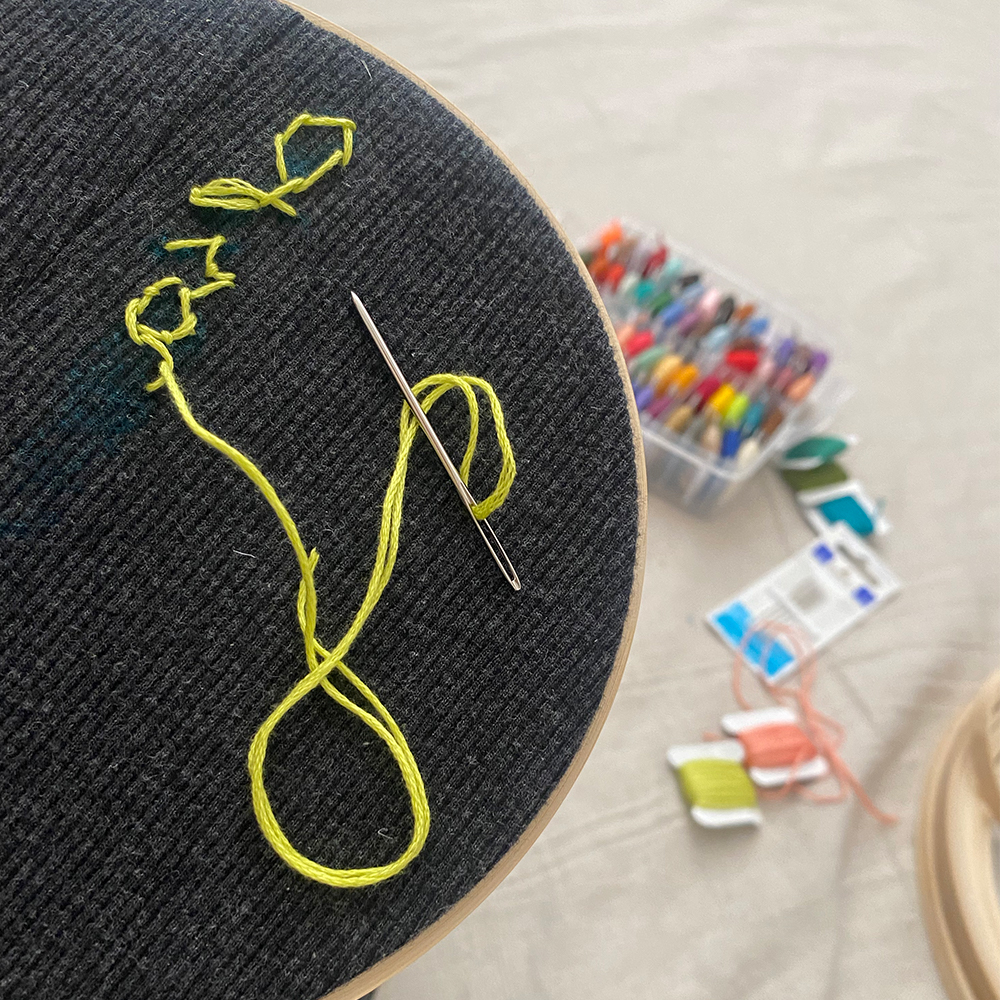
The second stitch I’ll show you is a chain stitch. This stitch creates a nice thick, textured line. I love it because it looks impressive when it’s pretty simple!
1. Mark out your letters on the fabric, using an embroidery hoop if you wish.
2. Thread your needle and tie a knot at one end as before.
3. Start from the back and pull your needle through, starting at the base of your outline. P.S. Be careful that you’re not sewing the back and front of the fabric together!
4. Pull back down right next to your initial stitch and make sure you leave a little slack!
5. Pull the needle back up at the top of your curve and repeat the steps to connect all your “chains.”
For the word “groovy” I switched to a stem stitch for a more, well, groovy look!
6. As before, start from the back and pull your needle through, starting at the base of your outline.
7. Bring your needle up through the fabric just above the marked line of your pattern.
8. Insert the needle one stitch length away from point 1 and just below the pattern line.
9. Come back up a little less than halfway between points 1 and 2, just above the line.
10. Repeat this process, going back down just below the line at point 4.

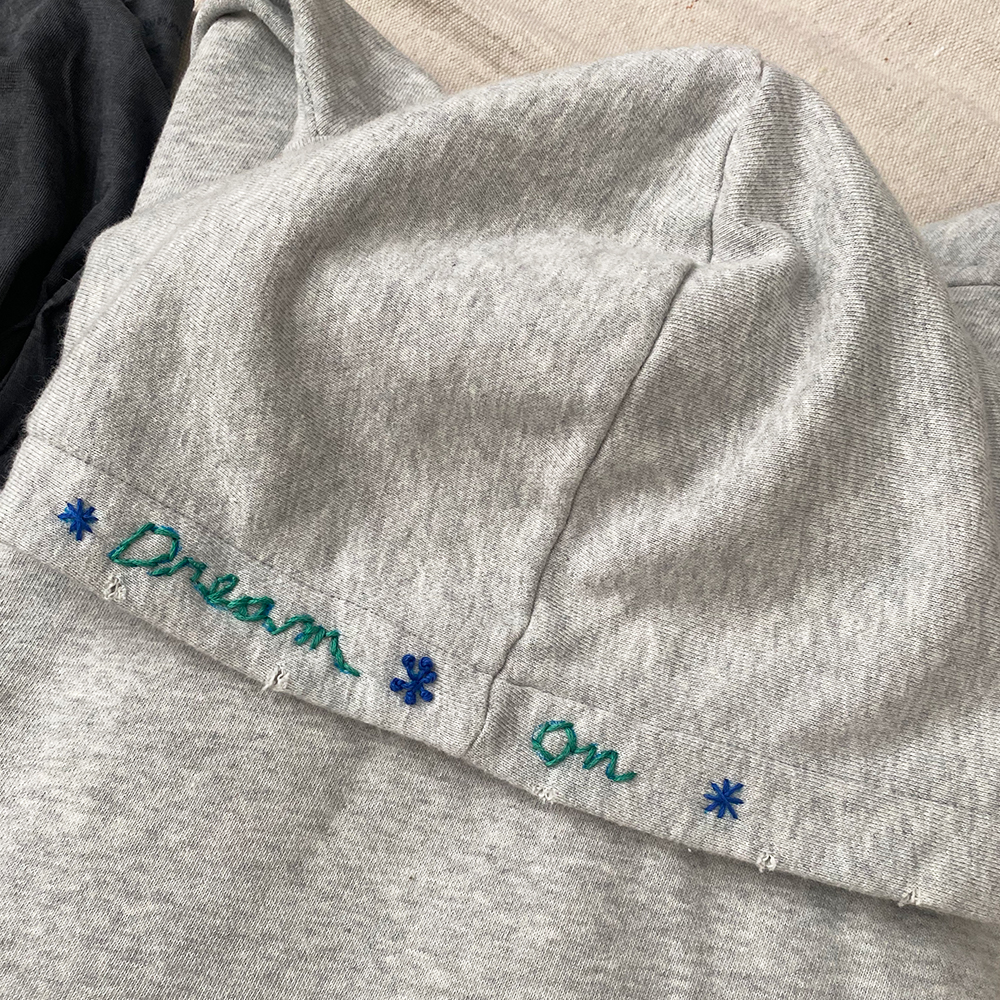
The stem stitch is back! I love using this stitch for cursive lettering because it gives the lettering a nice flow.
1. Mark out your letters on the fabric and thread your needle as before.
2. For each stitch, repeat steps 7 to 11 from the previous design.

Aerie fam, which design is your fave? How are your customizing your Aerie this season? Let us know in the comments and tag your favorite creations on social @aerie!
