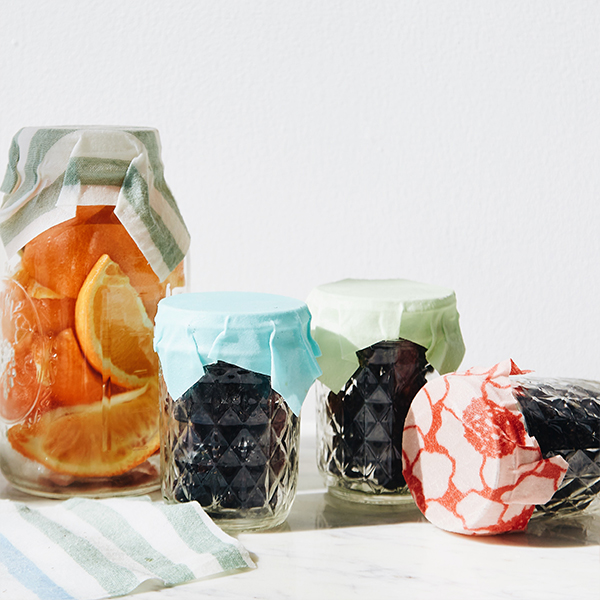
Let’s get crafty (and eco-friendly)! A beeswax wrap is an easy, sustainable alternative to single use plastic wrap wherever you use it. It’s super fun to create your own beeswax wrap using fabrics & patterns YOU choose. Plus, these make GREAT gifts. Read on below to see how you can DIY!

What You’ll Need
- 100% cotton fabrics
- Beeswax pellets
- Jojoba oil
- Pine resin
- Jar
- Iron
- Parchment paper
- Paint brush
- Water
What To Do
- Cut fabrics to desired size (anything from 6” to 12” squares work well in the kitchen!)
- Mix 1 heaping cup of wax, ¼ cup of jojoba oil & ¼ cup pine resin in a jar.
- Fill a pot with water to half the height of your jar and bring to a boil.
- Reduce the heat to a simmer and place your jar in the pot.
- Melt the mix! Simmer 10-20 minutes.
- Cover a cookie sheet or wooden board with a sheet of parchment paper.
- Add a piece of your cut fabric on top of the parchment paper.
- Paint mixture onto fabric & be sure to fully saturate the fabric square.
- Cover the fabric with a second piece of parchment paper.
- Set your iron to the cotton setting and iron away!
- Quickly lift the parchment paper and & hang your fabric to cool by itself for 10 minutes.
- Remember: don’t touch until dry!
Will you be making this sustainable and easy DIY? Comment below and tell us!